Nicola has been implementing an Altair Hypercam 294C PRO 4BG TEC 14-bit CMOS camera in AstroDMx Capture. One of the things that we noticed was that the preview image and the individual captured images all had a pronounced green cast. Some other cameras produce a similar green cast.
Altair state that this is what to expect from true RAW data and they state that this is normal and that the green cast has to be removed in post-processing. Some astronomical cameras have facility in the camera SDK to white/colour balance the RAW data stream, which is no doubt why Altair describe their cameras' data to be true RAW, i.e. completely unaltered RAW data.
An Altair Hypercam 294C PRO 4BG TEC camera was mounted in the two inch focuser of a Skywatcher 130PDS f/5 Newtonian reflector. The scope was fitted with a guide scope and everything was mounted on a Celestron AVX GOTO EQ mount.
AstroDMx Capture for Windows was used to capture 15 x 2 minute undebayered 16-bit Tiff exposures of M27, the Dumbbell Nebula, with matching dark frames. The best 14 frames were debayered, aligned, dark-frame corrected and stacked in Autostakkert! and the result was saved as a 16-bit Tiff file.
By default, the camera puts the 14-bit data into the lower bits of a 16-bit saved file. This means that when the unprocessed file is simply viewed, it is very dark.
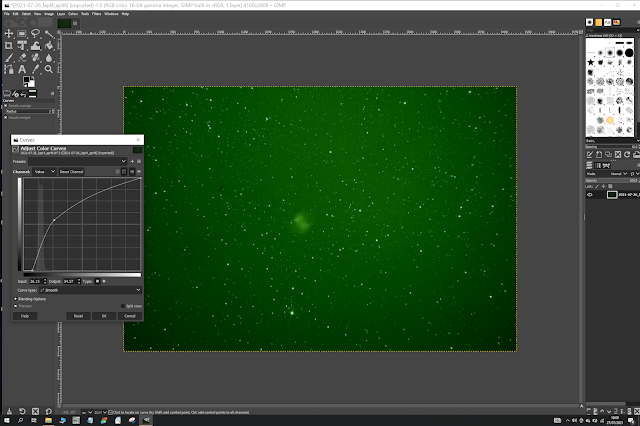
If we were to load this image into The Gimp 2.10 and stretch the curves, we can see that the image has a green cast. So, we don't do that!
Here the unstretched image is loaded into The Gimp 2.10
Then Select Colors, Levels and Auto Input Levels. DO NOT Click OK!


