The Altair Quadband OSC narrowband filter transmits two spectral bands:
FWHM spans 477.5nm - 512.5nm at the blue-green end of the visible spectrum and FWHM spans 642.5nm - 677.5nm at the red end of the spectrum.
The first band contains the emission lines of H-beta at 486.1nm and OIII at 495.9nm and 500.7nm and is centred on 495nm.
The second band contains the emission lines of H-alpha at 656.3nm and SII at 672.4nm and is centred on 660nm.
The Filter is called ‘quadband’ because it contains the emission lines of these four elements.
Each of the two transmission bands has a FWHM of 35nm and the rest of the visible spectrum is essentially blocked.
FWHM (Full Width Half Maximum) diagram

The four wavelengths of the four elements’ emission lines will pass through the filters of the Bayer matrix of the OSC camera sensor and produce an RGB image. This image can then be processed to produce a colour image akin to but not the same as those produced by monochrome cameras and three narrowband filters.
For example, with the quadband OSC filter, H-alpha and SII will both contribute to the red whereas H-beta and OIII will contribute to the blue and green components of the image.
It could be argued that whilst there is no doubt that the various palettes produced by monochrome cameras and separate SII, H-alpha and OIII filters are false colour images, the colour images produced from an OSC camera and a quadband filter more closely represent the RGB nature of the colour images produced.
The Equipment used
A William Optics Super Zenithstar 81 ED APO doublet fitted with a 0.8 flattener/reducer at f/5.5 was mounted on an AVX GOTO mount.

An Altair Quadband filter was placed in the optical train via an Altair magnetic filter holder. Between imaging sessions, by means of the adjustable flattener/reducer the spacing between the flattener/reducer and the camera sensor was gradually increased until the flatness of the field was deemed satisfactory.
The hand controller was connected to the Raspberry Pi running an INDI server and communicated with the indoor computer running AstroDMx Capture via WiFi. An anti-dew heater strip was placed around the objective cell of the scope. An SVBONY SV165 guide-scope fitted with a QHY-5II-M guide camera was mounted on the handle dovetail of the imaging scope.
AstroDMx Capture passed the time, altitude and location coordinates to the hand controller via the INDI server. The hand controller which now contained all of the correct information was set to its previous alignment and was unparked by AstroDMx Capture.
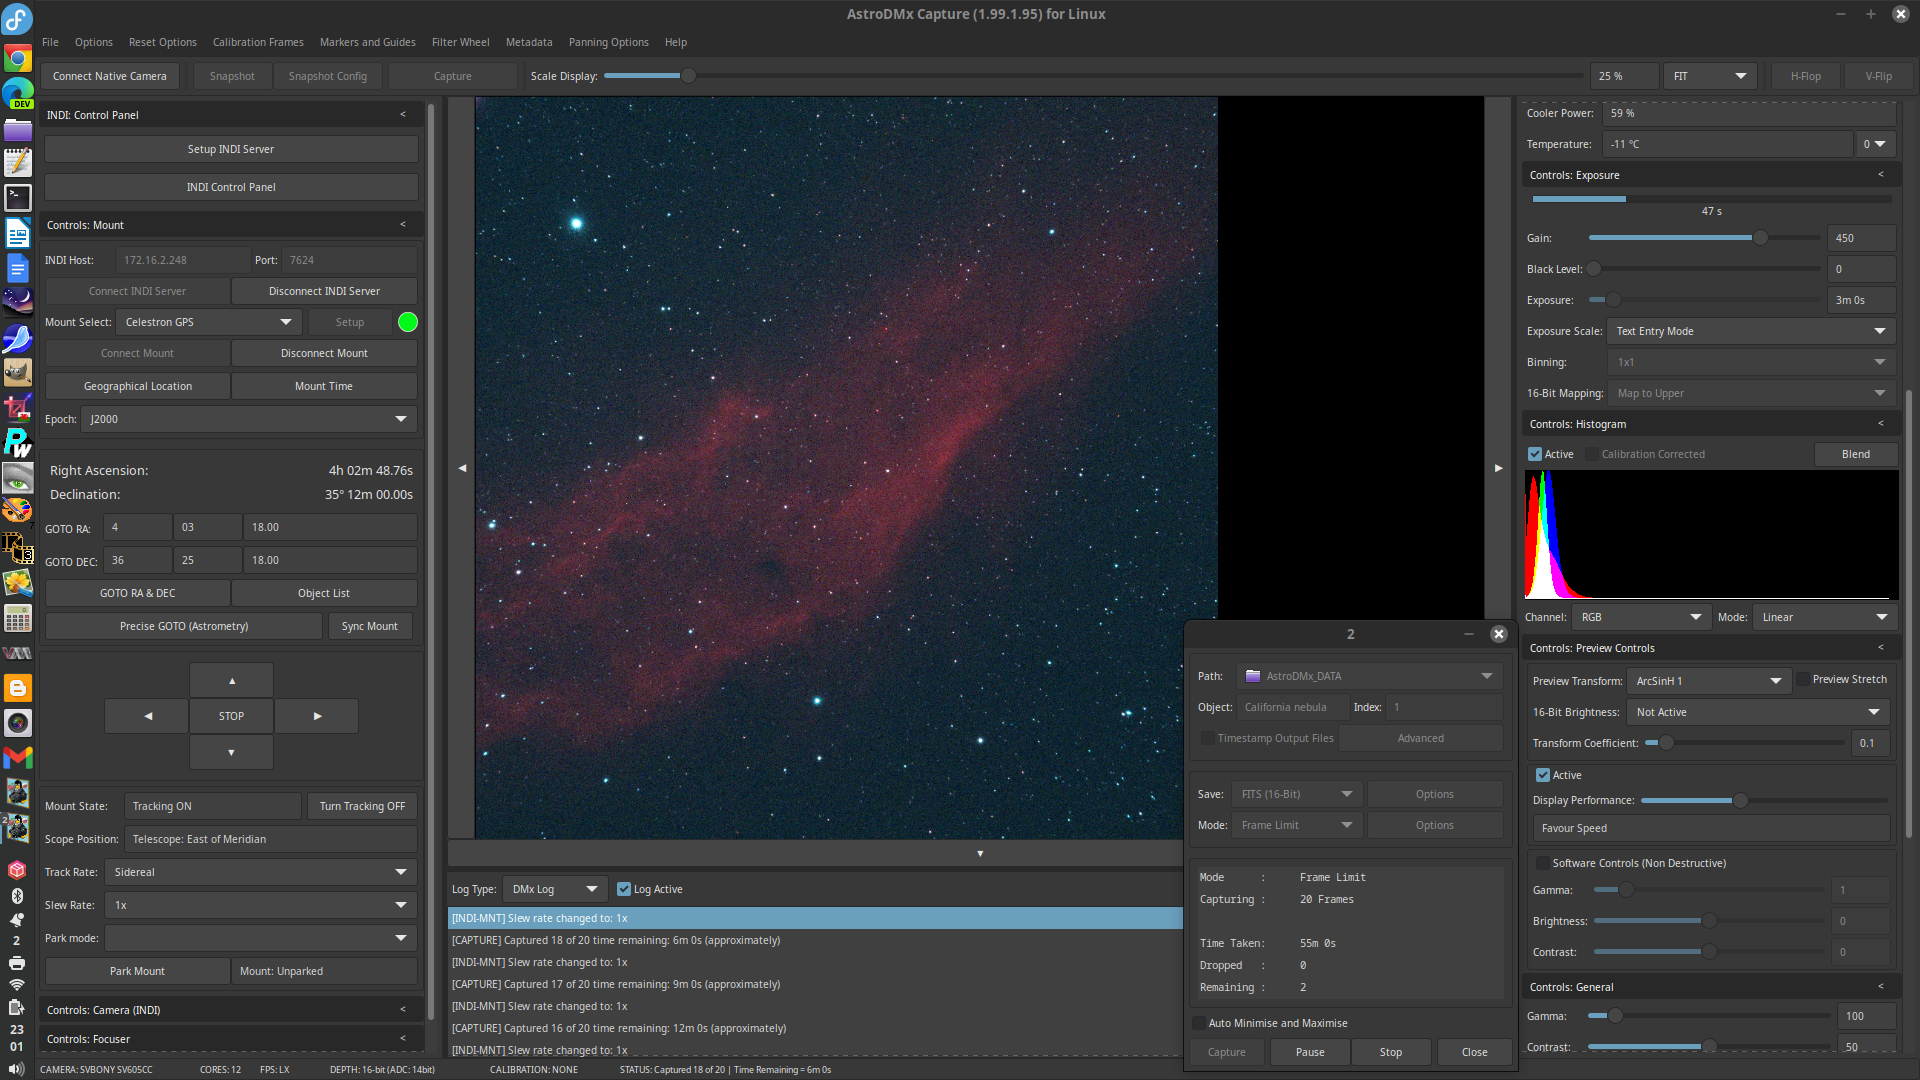
AstroDMx Capture connected the SV605CC OSC camera natively by USB, and sent the scope/mount to Vega.
The William Optics patented Bahtinov mask was used to bring Vega to focus.
AstroDMx Capture was used to send the scope/mount to ɣ Cygni Nebula a HII region in Cygnus, plate solve and centre the object.
AstroDMX Capture recorded 55 minutes of 2.5 min Fits exposures of the Gamma Cygni Nebula

The images were stacked and partly processed in Siril and post processed in the Gimp 2.10 and Neat Image
The Gamma Cygni Nebula

The quadband filter performed well on this HII region
AstroDMx Capture was used to record 20 x 3 min FITS exposures of the Pleiades.

M45 the Pleiades

The imaging computer indoors


The Pelican nebula

To date, the Altair quadband filter has compared well with the Optalong LeNhance triband filter. In future tests other objects will be covered, particularly those with a strong SII signal such as the Horsehead region and the Jellyfish nebula. These experiments will be reported here in a future article.
Meanwhile the refining and testing of the advanced features of AstroDMx Capture has continued. Nicola has made changes to the UI for efficiency and clarity as well as making substantial advances with the object database. The software is now in feature freeze, and when it is ready, Nicola will make a release. That release will be announced on this blog and Nicola will make a guest contribution to the writing of the blog to explain the modus operandi of the new AstroDMx Capture.