Star reduction procedure in Gimp 2.10
The procedure followed here have been carried out on a cropped Seestar S50 image of the bubble nebula. It is of average quality but serves nicely to demonstrate the procedure.
Animation showing the before and after star reduction
Tools
Selection Tools
By Colour Select
In Tool Options
Threshold 40
Click on a star
Select
Grow
Grow selection by 3 pixels
Select
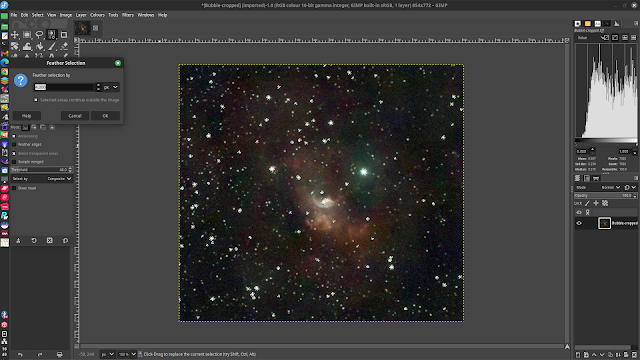
Feather
Feather selection by 4 pixels
If some nebulosity has been selected as well as stars
Then use Free select tool with CTRL pressed and outline the area to be excluded from the selection
Filters
Distorts
Value Propagate...
Mode More Black
Select
None
Note: The numbers 40, 3 and 4 in bold above will work but are guideline values that can be experimented with.
The above procedure is carried out in the Gimp and is shown by the following screenshots.
Click on a screenshot to get a closer view
Tools > Selection Tools > By Colour Select
Threshold = 40
The selections have grown by 3 pixels
Stars have been reduced


