It is sometimes useful to see exactly how an image was produced in terms of its processing:
A Panasonic Lumix DMCFZ72, 60x optical zoom bridge camera fitted with an ICE ND100000 solar filter and mounted on a static tripod was used to capture 93 images of the Sun through high cloud. The images were precisely cropped in Nicola Mackin's AstroCrop before being Stacked in Siril, wavelet processed in waveSharp and post processed in Image Magick and Gimp 2.10.
Capturing through high clouds can stabilise the seeing to an extent. However, a slightly longer exposure is required than would be required when imaging in a clear sky. Any wisps of cloud causing unevenness across the solar disk are averaged out upon stacking.
Click on any image to get a closer view.
The images were transferred from the camera's SD card into a directory (folder) on the computer. It can be seen from the image below that there is a lot of black space around the Sun in the images. The black space is irrelevant to the solar image and would greatly slow down the stacking process.
The data were loaded into Nicola's AstroCrop and a crop-box defined and placed around the Sun in the reference image.
AstroCrop then precisely crops every image so that it matches the cropped reference frame.
The cropped images were placed by AstroCrop into a directory that we called 'cropped'. They were saved as uncompressed .tif files. It can be seen that there is now no wasted black space around the Sun in each cropped image.
The cropped images were then registered and stacked in Siril. The stacked image was saved as a .fit file.
The stacked .fit file was loaded into the Gimp 2.10.
The image was Levels adjusted to improve the contrast and was saved as a .png file.
The .png file was loaded into waveSharp where it was wavelet processed to increase the sharpness.
The sharpened image was largely desaturated in the Gimp.
The colour temperature was adjusted in the Gimp.
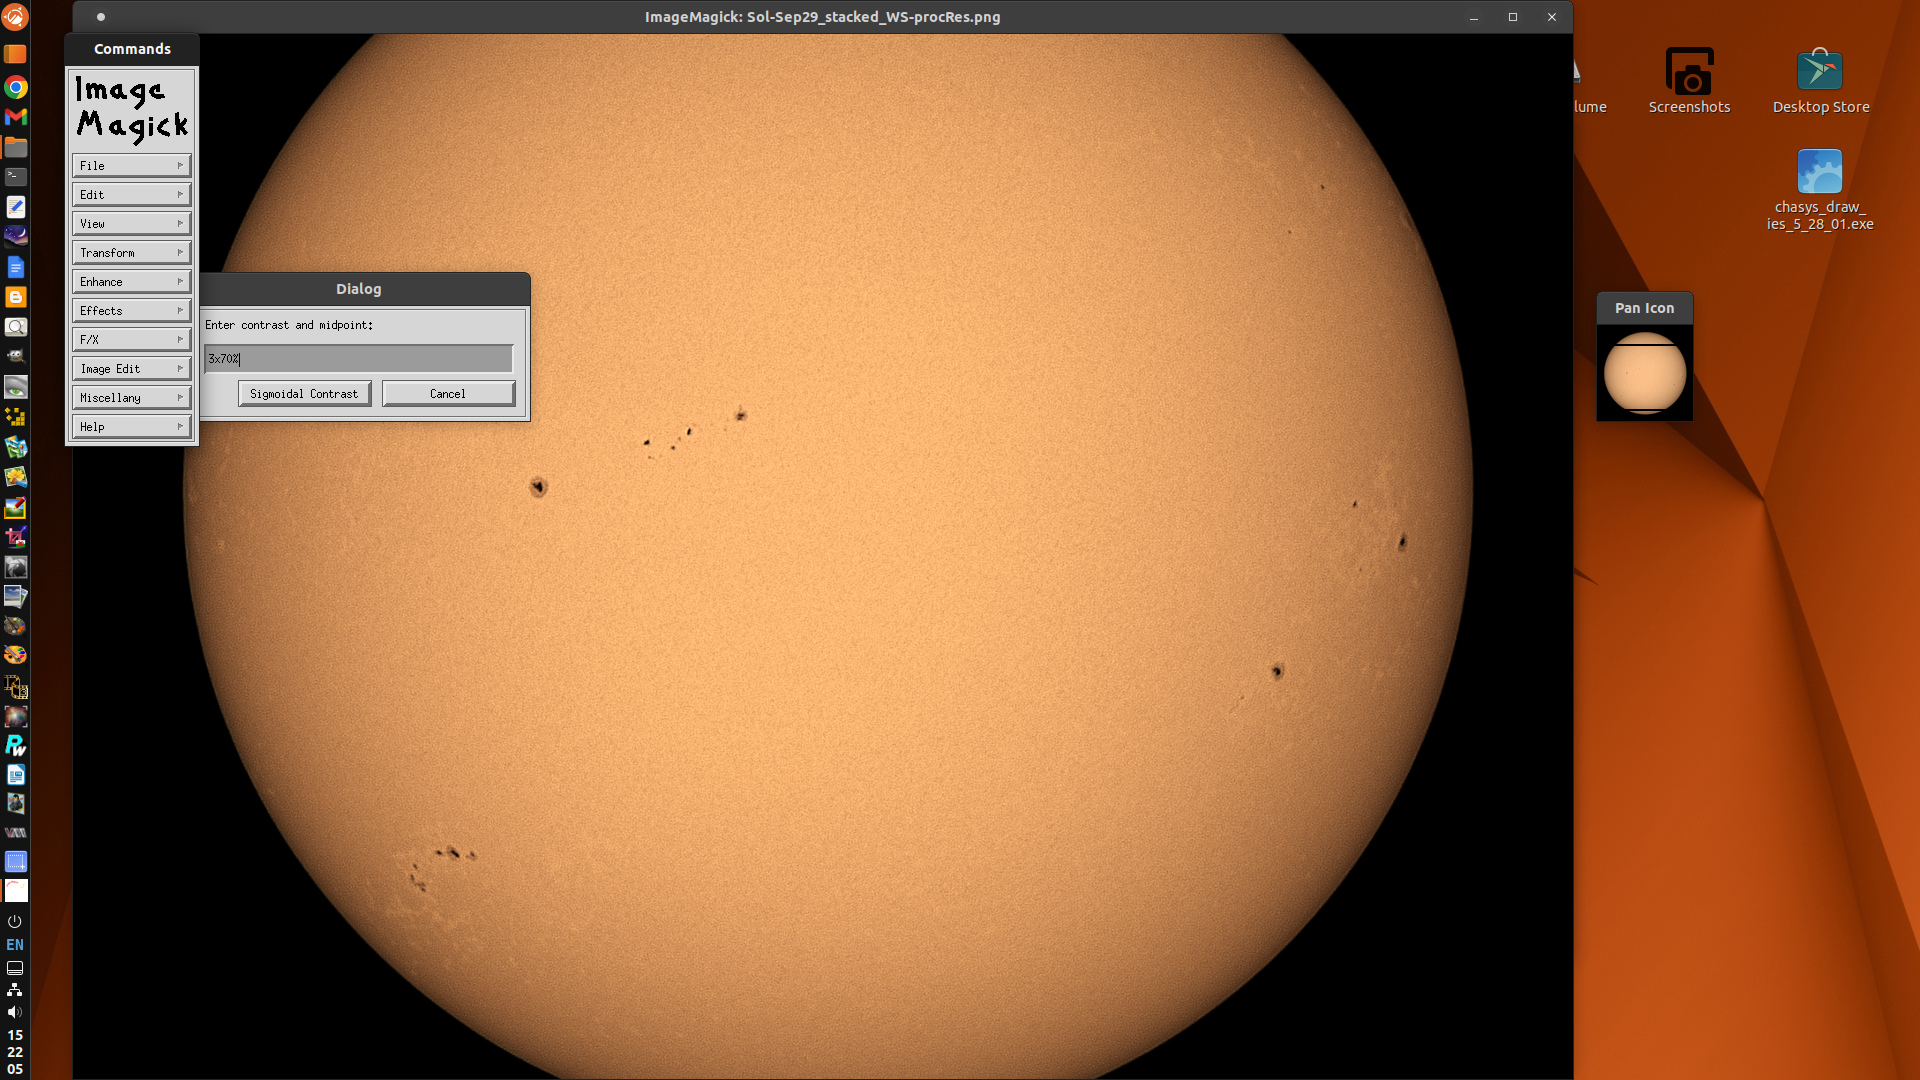
The image was given a Sigmoidal contrast Stretch in Image Magick
Animation of the processing results (click to get a better view)
The image was pasted as a new layer onto a new image that was the same colour as the area surrounding the Sun. Then the new layer was given an arbitrary rotation so that it matched the orientation of the Sun as seen in Spaceweather.com. Then the image was flattened and saved.
The final solar image